
8 Ways Apple Improved the Camera App in iOS 14
Posted by Marija Petrovic on

8 Ways Apple Improved the Camera App in iOS 14
Apple ProRAW
For professional and committed amateur photographers using an iPhone 12 Pro or Pro Max, perhaps the most important new feature of iOS 14 is the Apple ProRAW image format. Standard RAW images provide raw information from the camera sensor, which can be tweaked in editing to achieve results that the camera’s standard processing can’t. Alas, RAW images can’t take advantage of the iPhone’s computational photography capabilities, such as stitching together many images to produce a single image with good exposure even in low light conditions.
The Apple ProRAW format gives you the best of both worlds: the iPhone’s computational photography plus the added flexibility of working with raw data to adjust exposure, color, and white balance. It’s far too complex to get into here, so if you’re interested, check out these articles by photographers Ben Sandofsky, Austin Mann, Nick Heer, and Om Malik, all of which feature copious visual examples.
Faster Performance
We’ve all missed shots because we couldn’t get the Camera app open in time. That may still happen, but Apple is doing its best to help. The company says that the Camera app now opens faster and the time to the first shot is 25% faster. When taking a series of Portrait shots, the time between shots is 15% faster. Overall, Apple says, the Camera app is 90% faster, taking up to 4 frames per second.
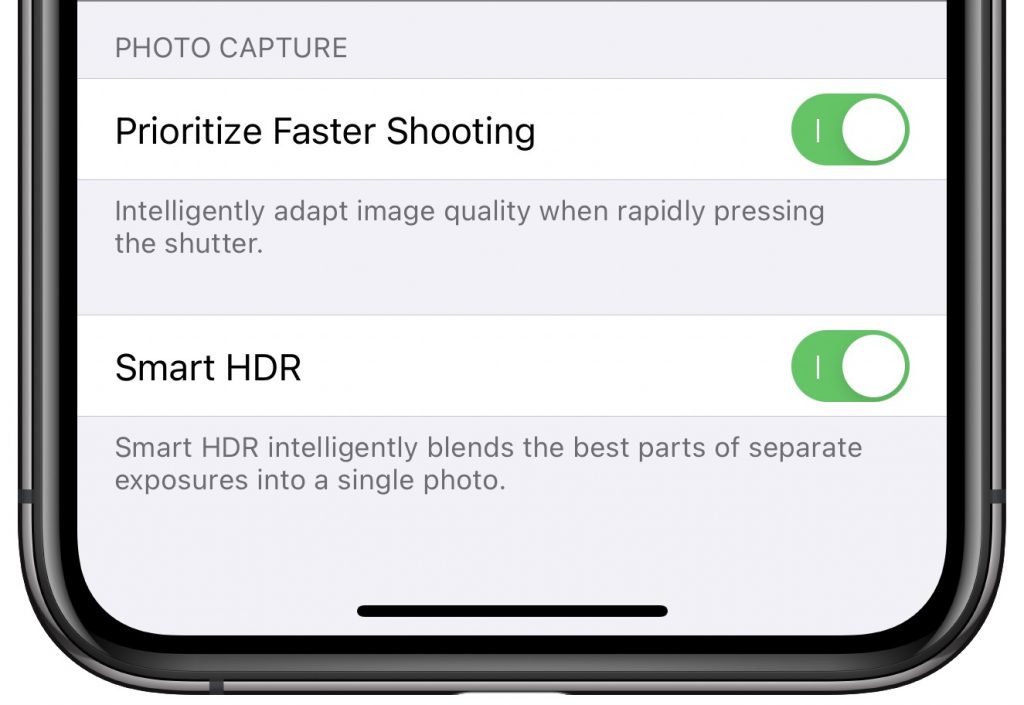
Prioritize Faster Shooting
Want still more shooting speed? If you take a lot of action shots, iOS 14 offers a new Prioritize Faster Shooting option that reduces the amount of processing (probably reducing image quality slightly) when you press the shutter button rapidly. Turn that on in Settings > Camera.
Use Volume Buttons for Burst Photos or QuickTake
Burst mode is the best way to make sure you get the photo when shooting fast-moving subjects. Historically, you invoked burst mode by pressing and holding the shutter button. Unfortunately, in iOS 13 on the iPhone 11 models, Apple assigned that action to the QuickTake feature, which automatically starts taking a 1080p video regardless of the current mode. Burst mode required pressing the shutter button and dragging to the left, which is tricky to perform correctly under pressure.
Happily, iOS 14 gives us additional options. When in the Camera app, press and hold the physical Volume Up button to invoke burst mode—let up to stop taking photos. Pressing and holding the Volume Down button invokes QuickTake and records video as long as you press the button.
QuickTake Comes to iPhone XR, XS, and XS Max
QuickTake was initially available only on the iPhone 11, 11 Pro, and 11 Pro Max from 2019. When Apple released the second-generation iPhone SE in 2020, it too featured QuickTake. With iOS 14, the QuickTake feature also comes to 2018’s iPhone XR, XS, and XS Max. So if you have one of those models, try pressing and holding the shutter button to take a video, or use the Volume Down button.
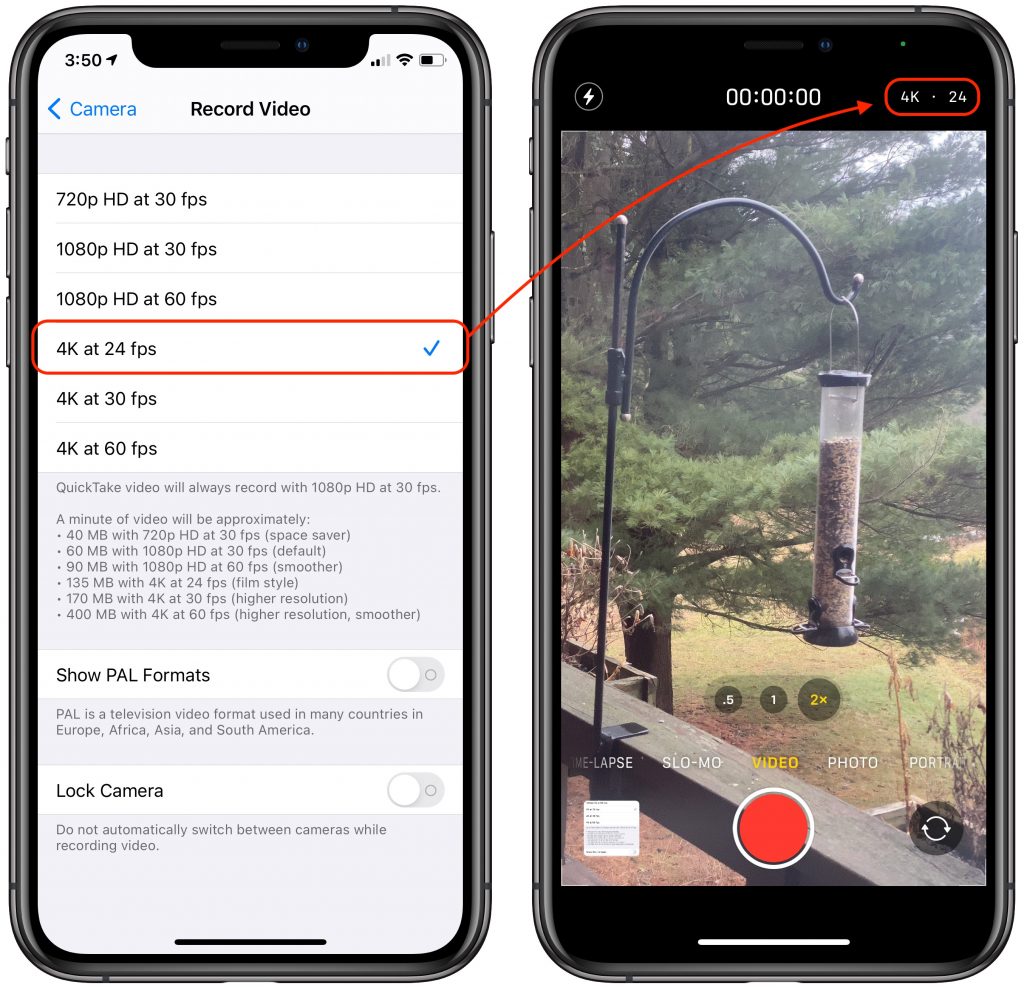
Change Video Mode in the Camera App
Most people will probably want to set the resolution and frames-per-second for videos once and then forget it. That’s what you do in Settings > Camera > Record Video and Record Slo-mo. But if you do want to change the settings, getting back to that screen quickly is difficult. In iOS 14, Apple added a pair of tiny indicators to the upper-right corner of the Camera app when you’re in Video or Slo-mo. They tell you what resolution and frames-per-second you’re using, and tapping either one cycles you through the other options.
Preserve Exposure Adjustment
Sometimes, when you’re taking photos in challenging lighting conditions, you want to override the automatic exposure settings and keep those settings across multiple shots. In Settings > Camera > Preserve Settings, you can now enable Exposure Adjustment ➊, which maintains your settings across shots and shows the exposure adjustment indicator ➋ near the upper left at all times. Tap that indicator to display the exposure adjustment slider ➌ below.
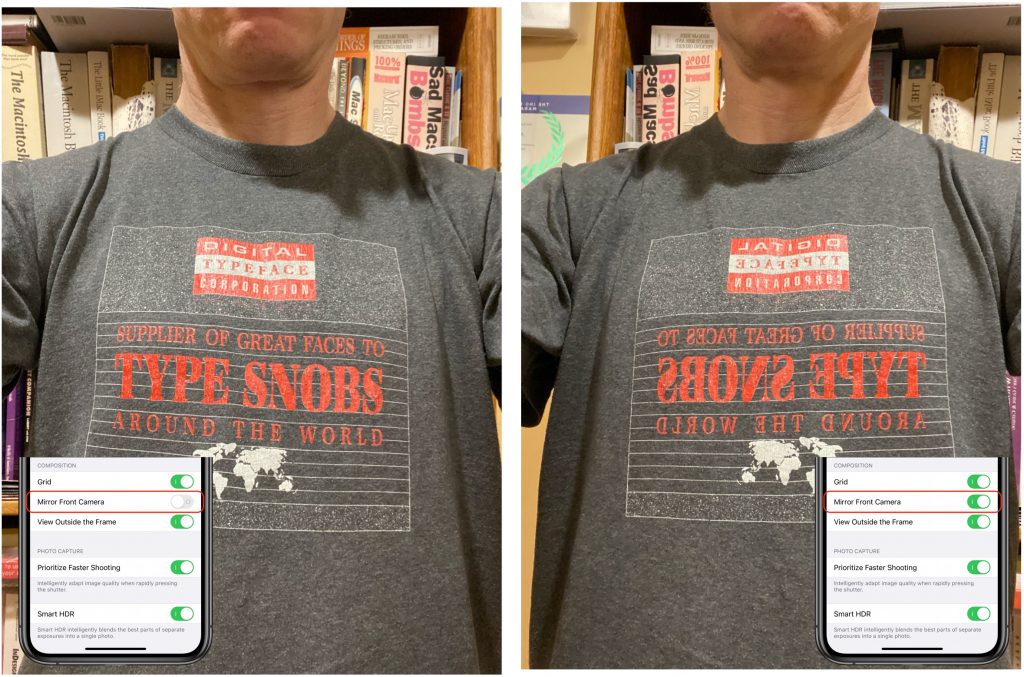
Mirror Front Camera
By default, when you’re taking a selfie with the iPhone’s front-facing camera, the preview shows you what you’d see in a mirror, but the eventual photo instead displays what someone looking at you would see. This is most noticeable when there’s text in the shot. Some people want the photo to look exactly like the mirrored version without having to edit the photo and flip it. iOS 14 now makes that possible with a Mirror Front Camera switch in Settings > Camera. It affects only the photo you take, not the preview, so you won’t see any change while composing the shot. In the examples below, the left-hand image shows the Camera app’s default behavior, and the right-hand image shows what you get if you enable Mirror Front Camera.
If any of these new features sound compelling, take a few minutes to see if you can work them into your regular shooting.